Arena Bridles and Reins 101
Which bridle do I need?
When choosing bridles and reins, there is usually no right or wrong answer, it’s simply personal preference. This handy summary may assist you in making your decision.
- Arena Classic: a minimalist bridle for riders who prefer simplicity in any discipline.
- Arena Comfort: added shaping and padding for horses seeking extreme comfort in any discipline.
- Arena Dressage: elegant dressage design for riders seeking beauty and comfort.
- Arena Grackle, or Arena Grackle Noseband: a figure-8 design common in jumping.
- Arena Hunter: a minimalist bridle with fancy stitching and no flash for riders seeking a classic look.
- Laced: traditional laced style popular for show horse and hunter jump.
- Web: affordable and very durable reins for any discipline.
- Grip: durable reins with lots of grip, popular for jumping.
- Padded: soft and comfortable reins, popular for dressage and leisure.
The range available online or at your local store will vary by market.
What comes with my bridle?
Your Arena bridle may arrive unassembled which is handy because it minimises marks from buckling, however you will need to know how to put it together.
All bridles contain the same number of pieces however will have minor aesthetic variations. Familiarise yourself with these pieces before following the assembly instructions below.

How do I assemble a bridle?
Attach the browband
- Start with the headpiece and the browband. Place the headpiece flat on the able with the Arena Saddles wording facing away from you.
- Take the browband end with the Arena Saddles badge on it, and slide it on the right-hand end of the headpiece, over all three straps.

- Slide the other end of the browband on the left-hand side of the headpiece, over all three straps.

Attach the cheek pieces
- Pick up the two cheek pieces, which are the same for both sides.
- Take your headpiece and choose the front top strap on one side. Buckle a cheek piece onto the middle hole of this front, top strap as shown.
- Repeat on the other side as shown.

Attach the throatlash
- Pick up your headpiece and identify the top, back strap on the left-hand side. Buckle the throatlash in the middle hole as shown.

- Leave the right-hand side unbuckled, as this is done up once you have the bridle on your horse.

This is a guide only. Once these are fitted to your horse, or simply due to personal preference, you may choose to swap the strap that these are each buckled onto.
Attach the noseband
- Buckle the noseband onto the remaining strap on the left-hand side of the headpiece in the middle hole (as shown)
- Repeat on the other side. The noseband is left unbuckled as this to be done up once your bridle is on your horse.

Adding or removing the flash strap
Flash straps are a personal choice between you and your horse. If your horse is happier without a flash strap, you can choose to remove it.
When you remove the flash strap from one of our hanovarian nosebands, you will be left with a seamless appearance.
- To remove the flash strap, simply slide it out of the loop.
- For the seamless finish, push the loop upward through the noseband until you can pull it out from the top.
- Store the loop and the flash strap together for another day.

Changing your noseband
A grackle noseband can be a good option when you need more control and the Arena Grackle Noseband can be fitted to any Arena bridle.
To swap the Arena Grackle Noseband onto your Arena bridle, simply unbuckle the current noseband from the middle strap of the headpiece on both sides, and buckle on the Arena Grackle Noseband on the same middle straps.
All of our bridles are interchangeable, meaning any noseband can be swapped onto any headpiece.
Attaching your bit
It’s a good idea to first make sure you know which way around your bit goes and where on the bit you want to attach your reins and cheek pieces to. The bit manufacturer will be the best source of advice for this detail.
Hang your bridle with the browband facing you and undo the billet closure at the bottom of both cheekpieces.

- Take one side of the bit and hook the bottom of cheekpiece that you just opened through the ring that you intend to use so that the billet closure is on the inside toward your horse’s face.
- Push the strap upward through the first keeper, up and over the billet closure, and then through the second keeper. Now you can push the strap down over the billet and pull the strap backwards to secure.
- Repeat on the other side.

Attach your reins
Now the bit is on, it is the same process to attach the reins.
- Hang the bridle with the browband facing away from you. Pick up your reins and undo the billet closure on both ends (leave the buckle in the middle buckled). Take one end of the reins and loop it through the bit with the billet closure on the inside (facing your horse once the bridle is on).
- Push the strap through the first keeper, up and over the billet closure, and then through the second keeper. Now you can push the strap down over the billet and pull the strap backwards to secure.
- Take the rein from the end now attached to the bit, and run the reins through your hand to remove any twists in the reins. Once you reach the billet closure on the other side, attach it to the bit as you did for the first side.

Check your keepers
Once your reins are on, take a look at your bridle and ensure all keepers are in place, both the keeper stitched below the buckle and the additional running keeper.
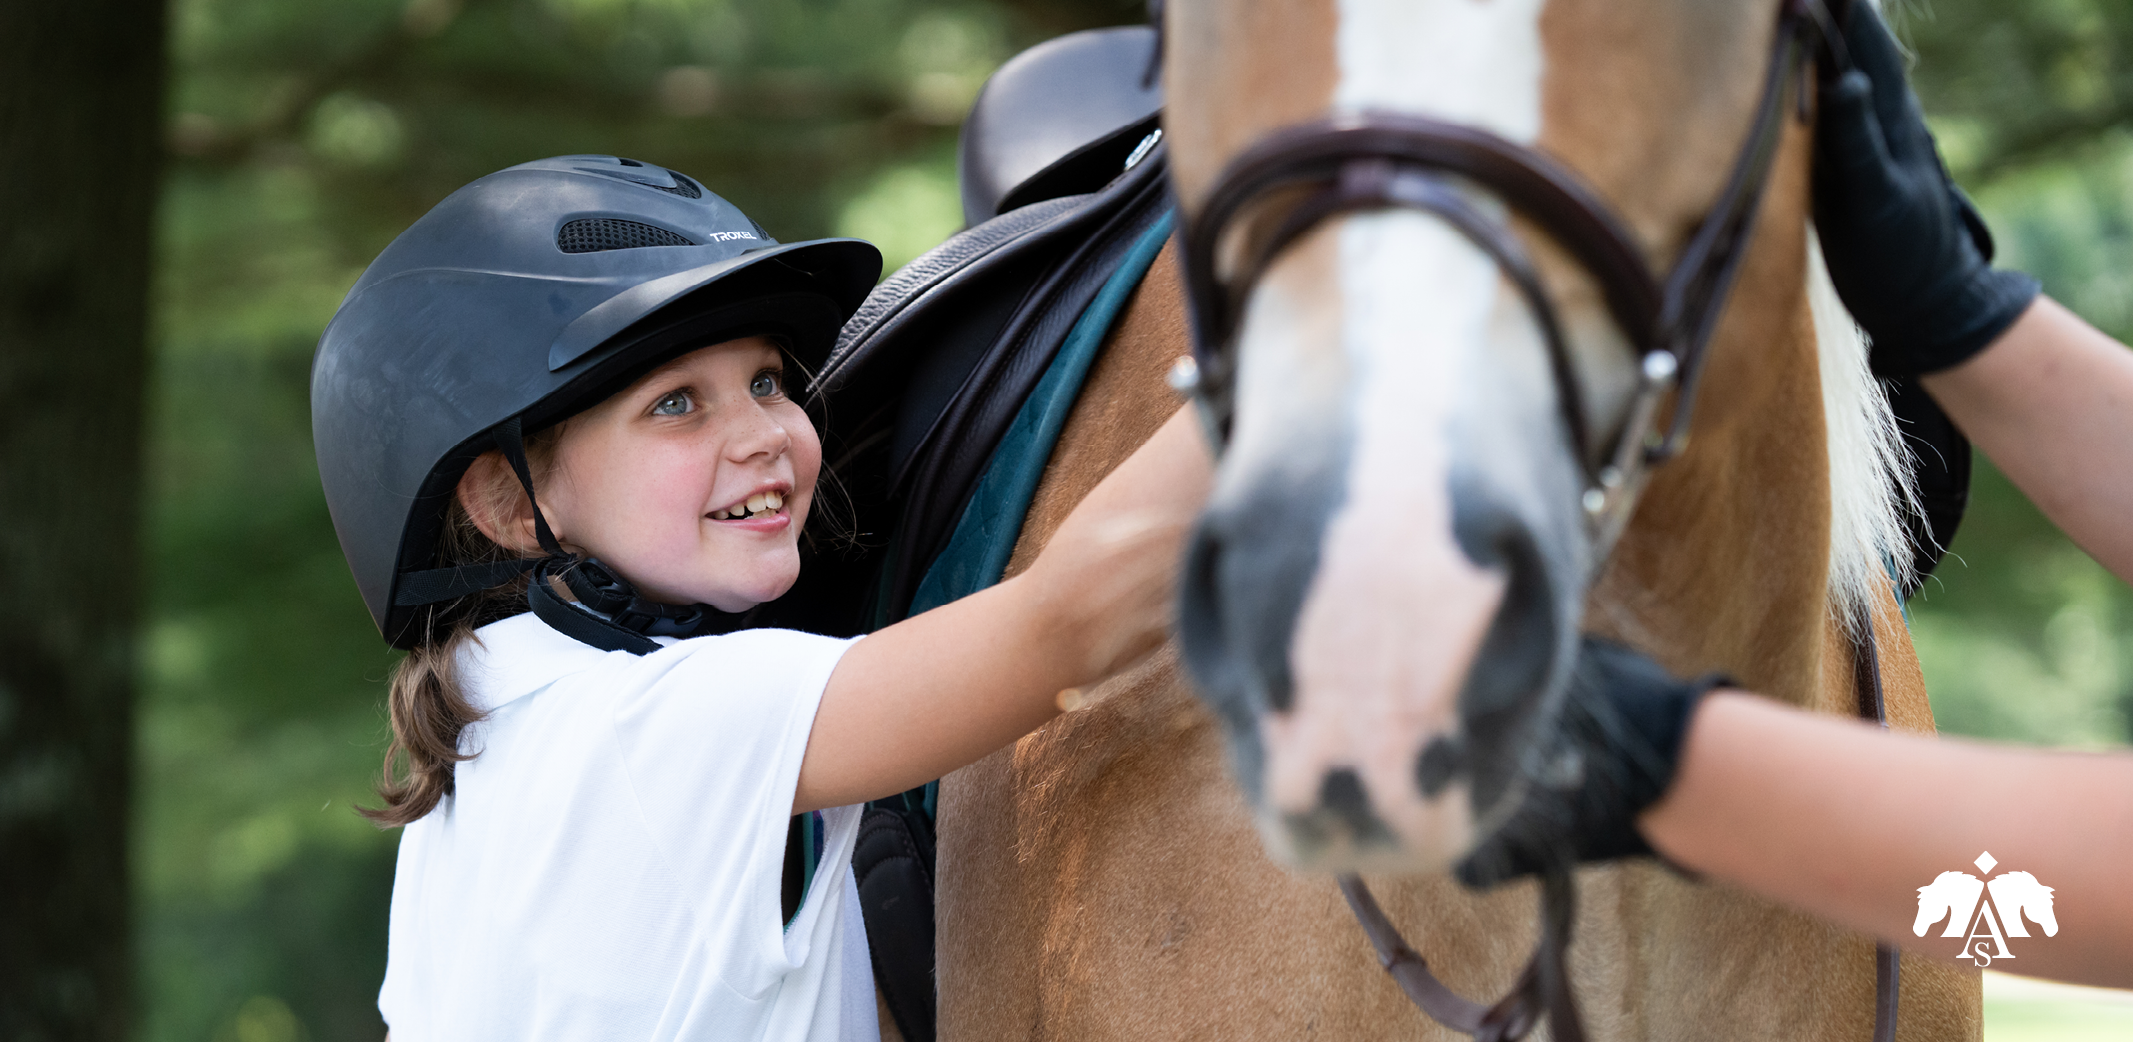
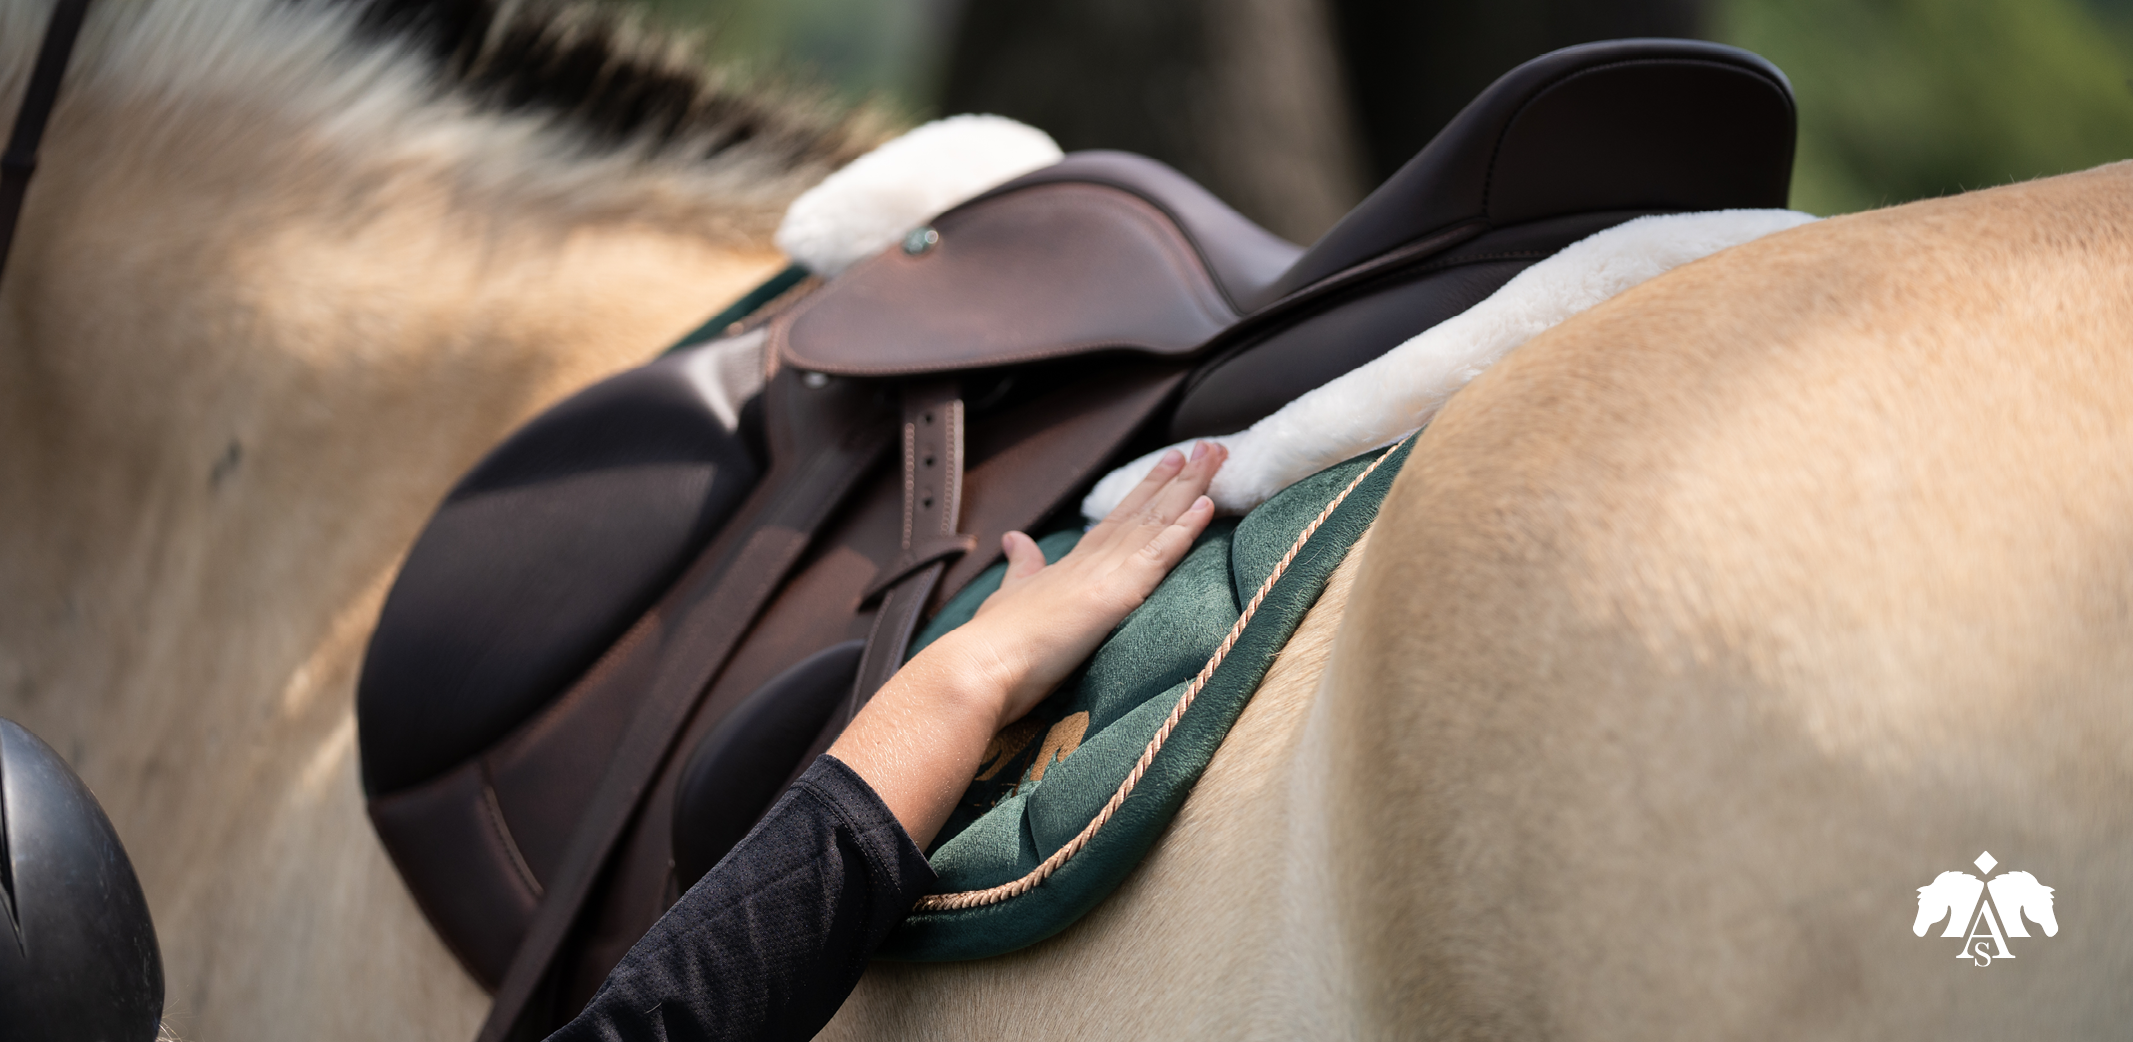
Time to get your horse
There are many schools of thought on bridles and bridle usage, the below are rough guidelines.
Ensuring your horse is always safe is the priority, for example your coach or trainer may recommend leaving a halter over or under your bridle while tacking up.
To finalise putting your bridle together, you first need to put the bridle on your horse. Your coach or trainer will be able to assist you to place the reins over their head and the bit in their mouth, before guiding the headpiece over your horse’s ears.
Finishing putting your bridle on
Your bridle should now be on your horse’s head and we can focus on the final steps. We recommend clearing out their mane from under the top of the headpiece to avoid creating a lump and pressure point.
Next, reach under your horse’s throat and grab the throatlash. Make sure it hasn’t caught in any other straps on the other side, then buckle it up to the remaining strap on the headpiece and secure the keepers.
To buckle up the noseband, slide both sides underneath the cheek pieces, and do the strap up comfortably under the chin.
When buckling up the flash, make sure it sits in front of the bit, with the strap buckling up on the left-hand side of your horse’s face over the soft part of the nasal passage.
Checking the fit of your bridle
Arena bridles have several holes in each strap to offer adjustability to suit your horse or pony’s head. If you are using the smallest or largest settings, you may want to consider a different sized bridle.
A gold-standard fit check is if all three buckles on the sides of the headpiece all line up with your horse’s eye, when buckled in the middle hole.
Once your bridle is on your horse, there are a few areas to check to see if your bridle is fitting comfortably.
- Can you fit the width of two fingers below your horse's cheek bone to the top of the noseband?
- Can you slip four fingers between the throatlash and the cheek bone?

- Can you slide two fingers under the noseband on the bridge of the nose?
- Be sure to slide the browband up to sit above the horse's forehead and just under the ears.

- Adjust the cheekpieces up or down until there is one wrinkle on the horse's lip, just above the bit.
- If your bridle features a flash strap, this is done up in front of the bit, with the buckle near the soft section of the horse's nasal passage. You should be able to comfortably slip one finger between the strap and the horse's lip.

For grackle nosebands
- If your bridle features a grackle noseband, do the noseband up by sliding both sides under the cheek pieces and buckle it under the chin.
- Take the remaining two straps and slide them around the nose, in front of the bit, and buckle the strap. This should do up over the soft nasal area on the nose, and you should be able to comfortably slip one finger between the strap and the horse's lip. You should be able to slide two fingers under the noseband on the bridge of the nose.

Bridle sizes
For more information, view our bridle sizing chart.